I'm quite likely to copy the prototype as you see it in the 3D model for part of Calshot Mk II. I've still to decide where to put the standard gauge line though!

Jam


 Looking north towards the end of the spit we can see a jetty (marked C). There were at one point, I believe , two tracks here (although I'll need to double check that!). Running southwards, the line reached a triangle. Trains did not use this triangle to turn round, otherwise they would be travelling boiler first up the ascent to Eaglehurst Camp. Straight ahead you can see the letter B, this is hangar F (or F shed). The railway ran either side of this hangar, narrowly skirting the south-eastern wall. There was a junction soon after where a line went onto the Powerhouse pier (now demolished) and the main line continued along the spit. There were a series of sidings and passing loops along the spit itself.
  It is very similar to my first plan for Calshot MkII which I still rather like, but this will take up slightly less space. Decisions, decisions!
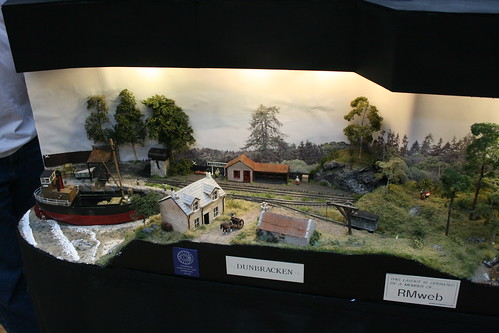
 After an excellent exhibition at Narrow Gauge South, Sparsholt on my birthday last Saturday, I came home with a Parkside Dundas WWI WD bogie ambulance van. There was one at Calshot, but was found to derail at the sharp curves so it was used as a store near the engine shed at Eaglehurst 'Top Camp'. It is more than likely that I will in fact put it into service on Calshot MkII and ignore history. Perhaps the wagon was modified to allow it to negotiate the sharp curves?

