Wednesday, 30 June 2010

Biro Sketches

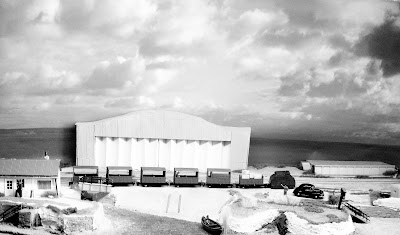
One of these sketches you've seen before, but the other one (on the right) you won't have. It is based on the real prototype and follows it closely looking towards the west. The hangar on the left is now the activities centre formerly "H" shed. the castle is prominent in the centre foreground with two slipways located either side. In reality the right hand slipway would be the other side of the War Department Pier than shown. The hangar at the rear is based on "F" shed.

As for getting the track on the plan it would differ from reality. Instead of the NG going around "F" shed, I'd probably bring it from the front of "H" shed and round the castle with a run around loop and siding. I'm still to decide on that one. The standard gauge would run from behind "H" shed towards the goods platform at the right hand rear side. Now I just need to make a firm decision and stick to it. (Easier said than done, as I'm sure many of us modellers can relate to!)

Friday, 4 June 2010

The 'Calshot Express' rake nears completion


Almost finished - just need to sand the wagon edges down and paint them grey.


Thursday, 3 June 2010

Recreating the 'Calshot Express'

Well, sort of anyway!


The Calshot Express

Using Parkside Dundas 009 wagons

Step 1: Very carefully lever one side of the roof off, making sure all fingers are behind the blade and the model is held firmly (unlike the photo!).


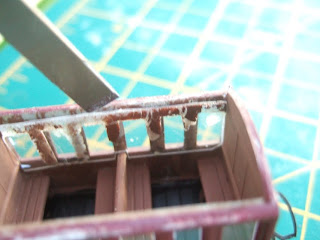
Step 2: Do the same for the other - if you can see it starting to split, carefully push the blade into the inside of the roof from the other side (as shown above).


Step 3: Now I very carefully cut the end frame as shown above. Lay the wagon flat and hold it firmly!


Step 4: Carefully ease the glazing off.


Step 5: Gently press the blade down the rim of the frame stopping before the bottom of the windows.


Step 6: Cut away each bottom frame of the windows as shown. Clean up using an emery board, re-glue the roof and you're ready for painting.


Comments welcome and encouraged as usual!